Why Cereal Should Be Poured Before Milk

By: Madison Grace Hansen

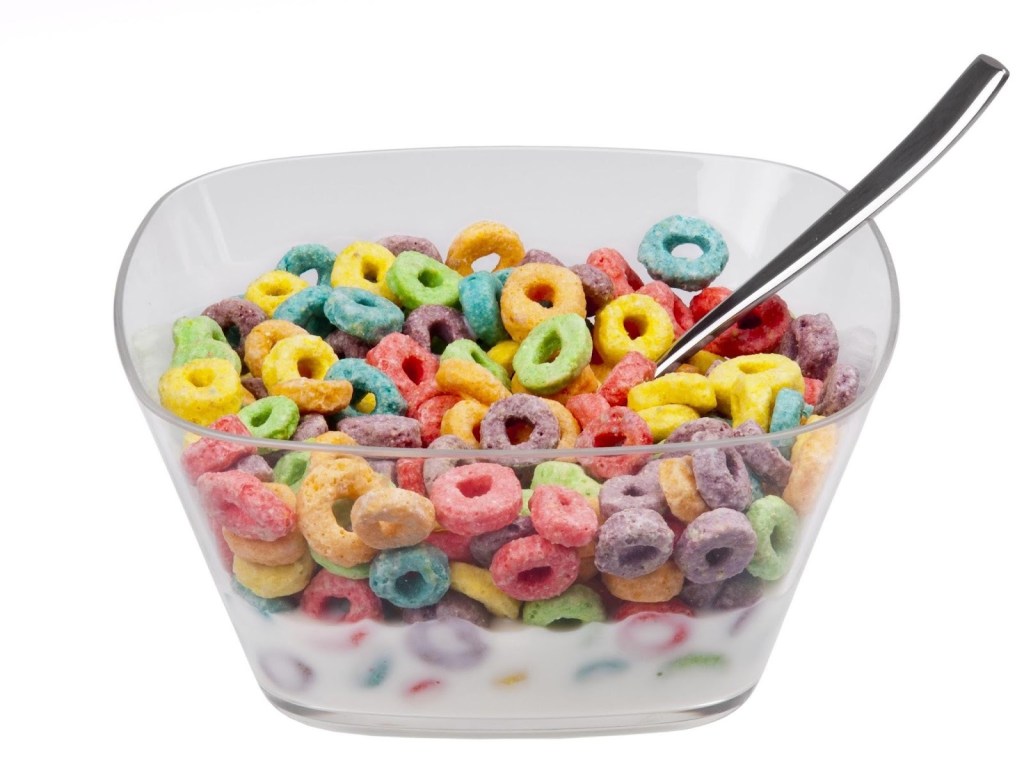
When pouring a bowl of cereal, most individuals instinctively pour the cereal first— which is correct. Pouring the cereal into the bowl first is most efficient because it provides better portion control, improved texture, and a more enjoyable eating experience. Although some people choose to pour the milk first, that will never be correct because it is neither a logical nor a traditional approach. 

To begin, putting the cereal in the bowl first allows for portion control. You can clearly see how much cereal you are spilling into the bowl which is beneficial in order to not overeat. Most individuals try to have a well balanced breakfast and as we know cereal is not the most healthy option therefore being aware of how much you are eating will allow you to not overserve yourself. Although a hearty breakfast usually consists of bacon, eggs, or sausage, if you have portion control, cereal will not be as bad for you as some may think. 

Also, the texture is another key factor to think about when pouring cereal before milk. Cereal is meant to have a light crunch, and pouring milk on top allows you to control how much of it gets soaked. If you pour the milk before the cereal, the cereal may absorb more of the liquid, therefore leaving it not crunchy but instead soggy. Nobody likes soggy cereal. That is why the cereal should be poured before the milk.

Finally, pouring the cereal before the milk allows for a better eating experience. It is better to have some pieces of cereal still crunchy while some have settled to the bottom. It is much more enjoyable to have a little crunch with also a little soggy. If I am being completely honest, the taste of the cereal is different when the milk is poured second. The taste is better and that is why cereal should be poured before the milk. 

How to make sourdough starter  

By: Luke Banar

  • Whole Grain flour
  • Filtered water

Before making sourdough bread you need to start by marking a sourdough starter to make the dough rise. A sourdough starter is like homemade yeast. You have to grow bacteria and yeast using flour and water. You need to have unbleached flour because it will not rise enough if the flour is bleached. You need a tall mason jar or any other glass container that can hold 16 ounces to put the flour and water and a food scale. On the first day you need to add 150 grams of water and 100 grams of the unbleached whole grain flour to the jar and mix until incorporated. Then lightly tighten the lid and leave at room temperature for 24 hours. After 24 hours take half of the mixture out and throw it away then add in another 150 grams of water and 100 grams of the flour. Then leave it for another day at room temperature after putting on the lid loosely. Then the next day take 75 grams of the mixture from today and throw away the rest of the starter in the jar. Then add 70  grams of unbleached whole grain flour and 75 grams of water and let it sit for another day. For the next day you need to do the same thing as the last day. On day 5 you need to do the same thing one more time. On day 6 you need to add 25 grams of the starter and 30 grams of water into a separate container and 50 grams of flour. Every day after that you need to do the same thing every day after that to keep the starter alive. 

                 Tips for sourdough starter 

  • If you know that you are not going to be able to give the starter more flour and water then you can put it in the refrigerator to keep the starter from dying. 
  • Before using the sourdough starter you need to give it more flour and water to activate it and make it rise. After giving flour and water, wait until it rises again and then you can use it. 

Cooking with Luke B: Orange Chicken

By: Luke Banar

How to make Orange Chicken. 

  • 2 Eggs
  • ¼ cup of Flower
  • ½  cup of Cornstarch and 1 tablespoon of cornstarch
  • 2 lb of chicken breasts
  • Oil
  • 2 Cloves of Garlic cut up
  • ½ teaspoon of Ginger 
  • ½ crushed red pepper
  • ⅔ cup of orange juice
  • 2 tablespoons of soy sauce
  • 2 tablespoons of sweet chili sauce
  • 1 tablespoon vinegar 
  • 1 tablespoon of brown sugar
  • Juice of half of a lemon 

In a small bowl add the eggs and beat them until they are blended and in another bowl add the ¼ cup of flower,½ cup of cornstarch,salt, and pepper. Put the chicken into the egg bowl first then take it out and cover it in the flower mixture. In a pan add some oil and heat it up to cook the chicken. After cooking place the chicken on for a couple of minutes until the chicken is light brown. After taking the chicken out, place it on a plate with paper towels to remove any excess oil. After cooking the chicken start to make the sauce. In a small pot add oil and heat it until medium. Then add garlic,ginger, and red pepper and cook it for about 2 minutes. After add orange juice, soy sauce, chili sauce, vinegar, brown sugar, and lemon juice, and bring down the heat a little bit. While it is cooking add the rest of the cornstarch and 2 tablespoons of water. Slowly add into the sauce and stir for about 5 minutes. Then add the sauce onto the chicken and have it with rice. 

How to make Stuffed Shells 

By: Luke Banar

Ingredients 

  • 5 Ounces of Spinach 
  • 2 Cups of Ricotta cheese 
  • ¼ cup of Pecorino cheese
  • 2 Garlic cloves or garlic salt
  • 20 Jumbo Shells
  • 1 cup of Mozzarella 

This recipe will make up to 20 pasta shells filled with a cheese mixture. First you need to start by cooking the jumbo pasta shells in salted water. Make sure that the pasta is still firm and not overcooked so it can hold the filling. While the shells are cooking, make the filling by adding ricotta, pecorino, garlic, and cut up steamed spinach and mix all of these ingredients until it is fully incorporated. Once the shells are cooked you need to fill them using the cheese from earlier. Use a spoon to scoop some of the filling into each shell. Place the shells in the pan and add the tomato sauce into the bottom of the pan making sure that it is evenly spread throughout. Then add 1 cup of mozzarella cheese on the top and bake at 375 F for 30 minutes while covered with tinfoil. If you want you can move the pan onto the top row of the oven to broil for 2-4 minutes after taking off the tinfoil. This dish is good to have with garlic bread or whatever other dish you would like. 

Which is better, Moe’s or Chipotle?

By: Clark Kinney

Around 2-3 years ago, the Mexican chain, Chipotle opened a location in Sumter. Sumter already housed a similar Mexican-type restaurant in Moe’s Southwest Grill, so this raised a question and a big debate: Moe’s or Chipotle? 

I am going to tackle this debate from a little different angle than some people may expect if you don’t know me. You see, I am kinda a nutrition nerd and I know thar’s kinda weird but it’s true. I track how many grams of protein, carbs, and fats I eat, and I look to have more protein than carbs and fats in almost every meal and at these restaurants I can get pretty close to doing so. Let’s break this thing down. With Chipotle, I know exactly what I’m getting, I can look up on their website the complete nutrition of my exact order so I know what I’m putting in my body. With Moe’s it’s kinda a guessing game with nutrition because they don’t make it so easy for you to find their nutritional information; in fact, I’ve never found it, I’ve just used what other people have estimated which could be correct or not. Here are my normal orders for both:

Chipotle-bowl with white rice, no beans, double steak, one serving chicken, medium salsa, corn pico, and lettuce

Moe’s- bowl with southwest rice, double white meat chicken, one serving steak, queso, corn, raw onion, Moe’s sauce, and poblano crema (don’t knock it until you try it)

The prices of both vary greatly and this is always due to my extra, extra (triple) meat. At both places, the person making my bowl tells the person ringing me up what I ordered and they tell them something different every time, so the prices very greatly. Sometimes it’s $15 and sometimes it’s up to $30 and I don’t know which one is technically right, so I don’t argue and just pay for whatever they say. With that being said, price doesn’t really play a role in this debate; however, the taste does. At Chipotle, my order taste the same every time and it’s great. At Moe’s, my order is sometimes fire and makes me wanna slap Coach Rip (Editor’s note: assault) in the face, and other times, it’s not as good. I also just feel better after eating Chipotle because I know exactly what’s in it and what I ate. 

In my opinion, Chipotle is better than Moe’s due to its consistency and nutrition, but Moe’s is still very good. 

Cooking with Luke B

By: Luke Banar

How to make a homemade Crunchwrap supreme

Ingredients 

  • One pound of ground beef
  • Shredded cheese 
  • Taco seasoning 
  • Toppings like lettuce,tomatoes,and sour cream

First you need to cook the pound of ground beef for a couple of minutes. Make sure to chop up any big pieces so that it cooks evenly. Stir it around and add in the taco seasoning.  Once the ground beef is brown and fully cooked you need to drain the excess fat off. Set the meat off to the side and set out tortillas flat. Next you need to add the toppings on the tortillas. First lay down a layer of meat but not too much because the tortilla will need to be folded. Next add some sour cream, cheese, and  thinly sliced lettuce and tomatoes. You can add any hot sauce that you would like or any other toppings. Next you need to fold up the tortillas just like a Crunchwrap. If there are too many toppings inside to fold it up then you might have to take some out because you do not want any toppings coming out of the Crunchwrap. Once you have your folded up Crunchwraps you need to fry the outside of them. Pour some oil onto the pan and heat it up until when you put a drop of water on it the water pops. Then you need two spatulas to place the Crunchwrap on the pan until it is browned enough then flip it on the other side until it is also brown. Make sure the oil is hot enough or the oil will not fry the tortilla it will only soak into the tortilla and taste bad. Then they are ready to serve. You can also add additional toppings on top of the Crunchwrap if there is not enough inside.